Built to Last
Photography by Jason Dziver
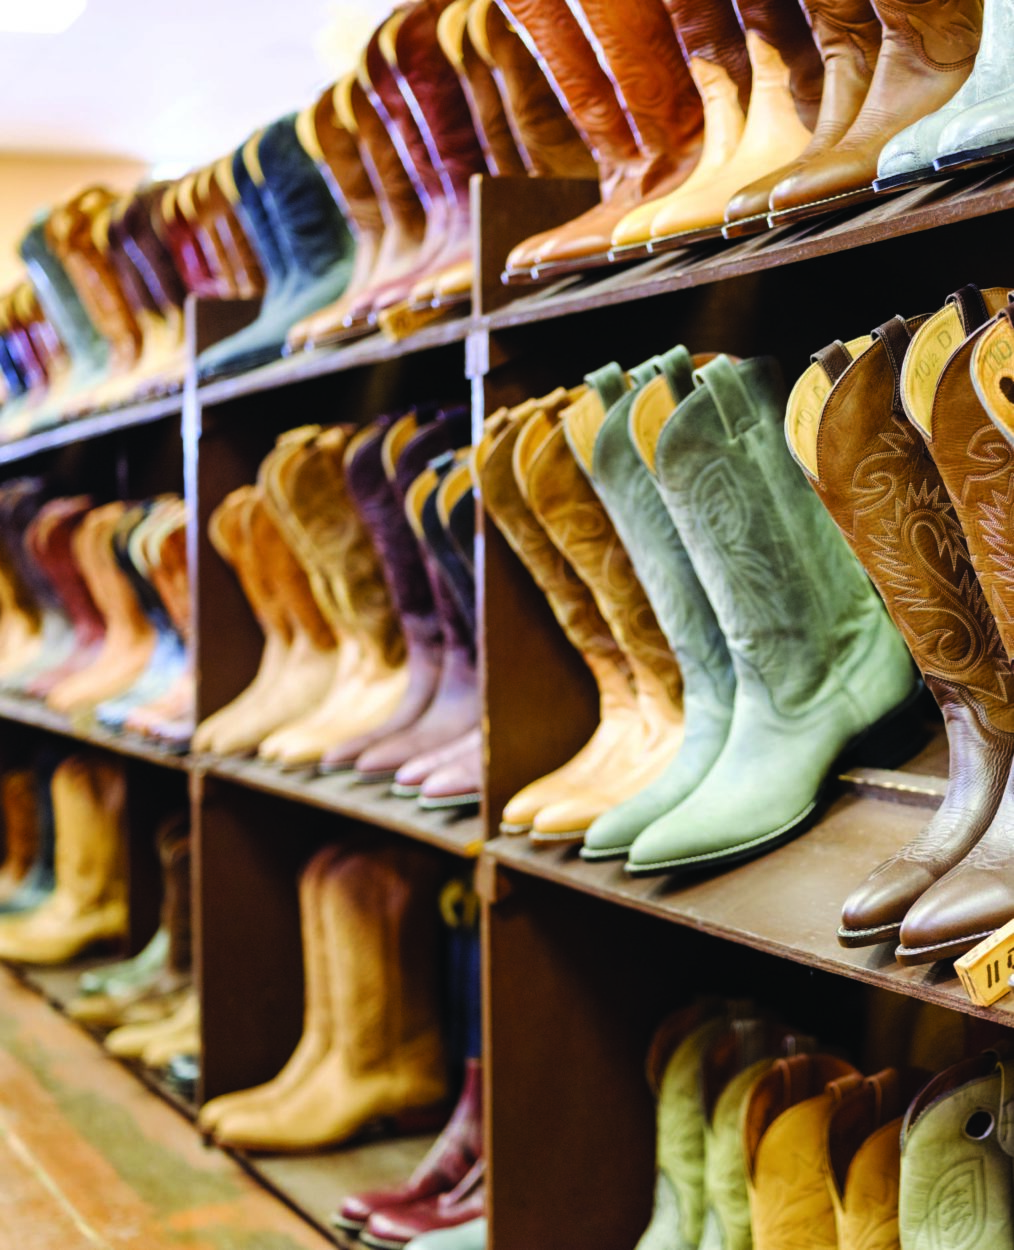
If Ben Gerwing isn’t up front in the Alberta Boot Company store greeting customers and fitting them for the perfect pair of boots, you might find him in the factory at the back of the building cutting leather, or applying stain to soles, or any of the 200 steps that go in to custom hand-crafting a pair of boots.
As the third generation owner, Gerwing started working at the company in his teens and hasn’t looked back since. “It’s something I always enjoyed doing, learning all aspects of the job whether it was helping people out in the store or actually going in the back and making the boots, or everything in between,” he says.
It’s a point of pride at Alberta Boot Company that nothing about how the boots are made has changed over the past 40 years — why mess with a winning formula? Every boot is made almost entirely of quality leather, meaning they can be resoled several times.
“We consider ourselves the best-made western boot in the world,” Gerwing says. “We’ve got a lot of people who are wearing our boots who’ve had them for 10, 15, 20 years or more and they’re on a second or third sole.”
“You look at a mass-manufactured boot and then you hold one of ours and even to the untrained eye the quality is so different. You can just see it,” he continues. “We want to continue to provide our customers with the best footwear we can possibly make, and the only way to do that is by continuing to use these older methods, which anything new just can’t match.”
Manufacturing the boots requires 200 steps and about four to six weeks, (So if you want a pair in time for the Calgary Stampede, get your order in by the end of May!) but Gerwing distilled the process down to 12 key aspects of production to give us an idea of what goes in to each and every pair.
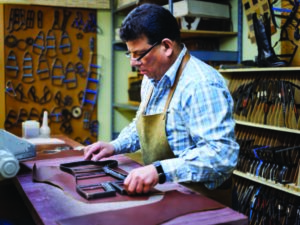
The first stop is the cutting room, where (1) the leather uppers and linings of the boots are cut with dies and hydraulic cutting machines.
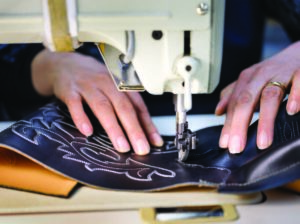
Next up is the sewing room, where (2) the uppers and lining leathers are hand-sewn piece by piece. Then (3) the vamp and heel counter is sewn in to the shafts of the boots.
The boots are taken to the lasting and soling room, where (4) the leather uppers are matched up with the appropriate last and insole before (5) the vamp of the boot is pulled down tight and “lasted” over the mold.
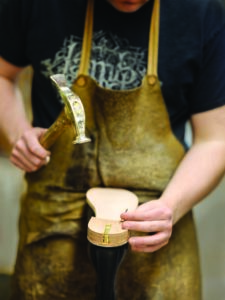
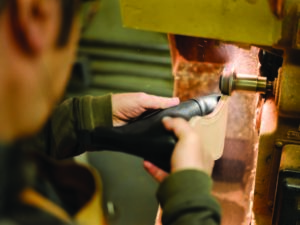
(6) Leather welting is sewn in to the vamp of the boot, and (7) leather corking and a steel shank are added to the insole prior to having the outsole sewn on. (8) The outsole is nailed and sewn down as well as trimmed and (9) the heel is attached to the sole of the boot. Then, (10) the last is removed from the boot and the sole and heel are trimmed and sanded.
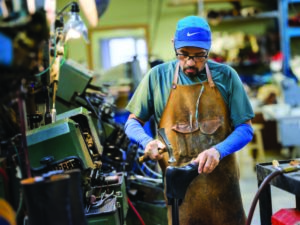
The final stop is the finishing room, where (11) the inside of the boot is cleaned and smoothed and (12) sole stain and finish is applied to the boots. After a careful quality check, the boots are complete.
Boot Maker’s Glossary
Upper: The part of the boot that covers the foot
Dies: A metal pattern, similar to a cookie cutter, that is used to cut out sections of leather for the various parts of the boot
Counter: The leather piece above the heel of the boot
Vamp: The lower front part of the upper
Shaft: The part of the boot that wraps around the ankle and leg
Shank: A small piece of steel that reinforces the wearer’s arch
Last: A model of a foot that acts as a mould for the boot to be formed around
Welt: A strip of leather that wraps around the upper and joins it to the insole
